Safety First: Chase lights are a major safety item when traveling in a group. It’s one of the simplest upgrades that directly reduces the chance of someone losing sight of you—or worse, running into you—when conditions get ugly.
What they are
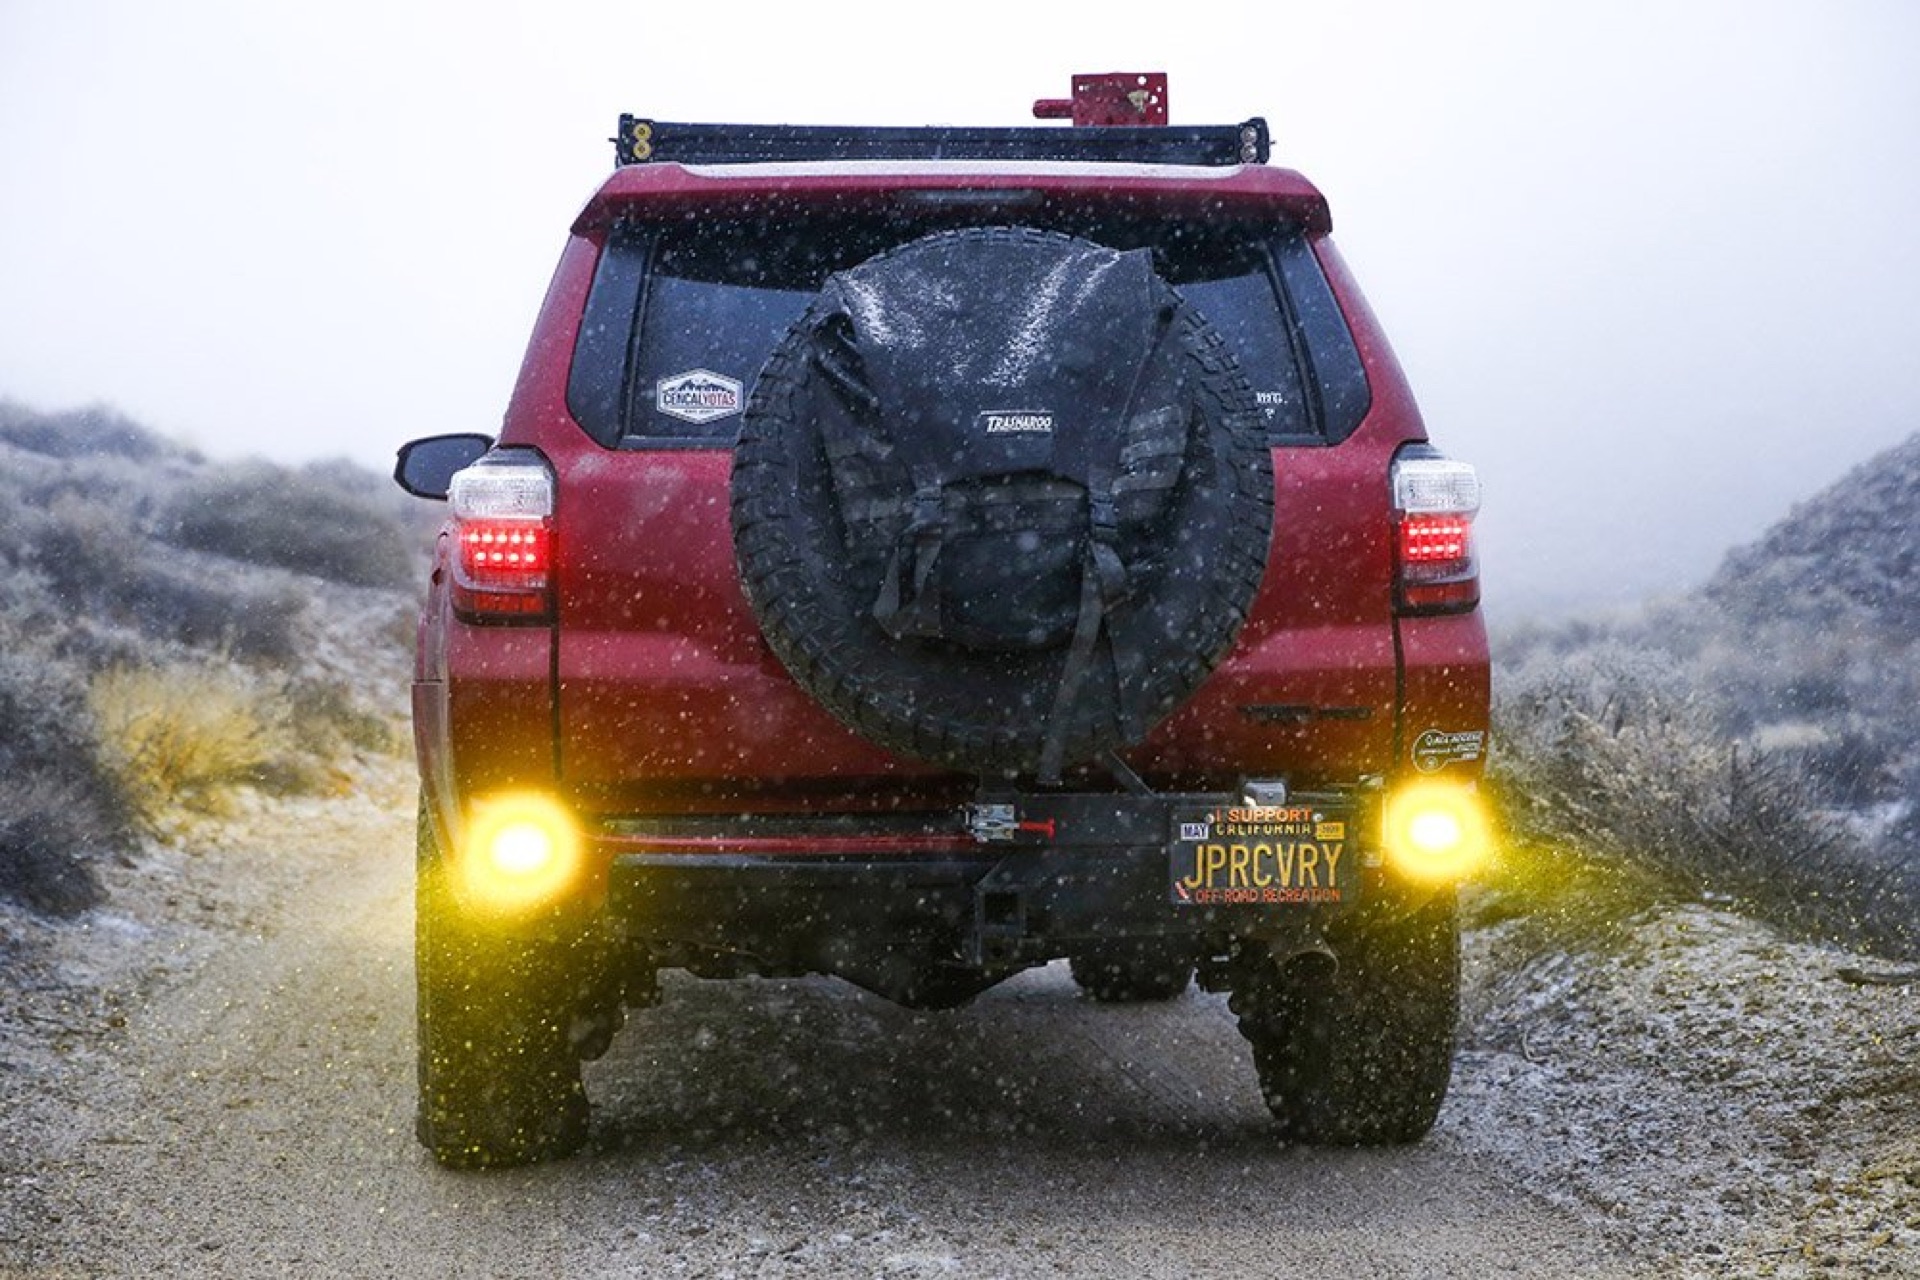
A chase light is a rear-facing auxiliary light (most commonly amber) mounted high on your vehicle to make you more visible to drivers behind you—especially in dust, fog, rain, snow, or low-light trail conditions. Think of it as an “I’m here” beacon for anyone following your line.
Why you need them
On overlanding routes, visibility can drop fast: silt beds, convoy travel, night trail runs, and long gravel roads can all create conditions where tail lights disappear.
Chase lights help by:
- Improving visibility through dust/sand kicked up by the vehicle in front
- Reducing rear-end collisions in tight convoy spacing
- Helping your group track you when terrain breaks line-of-sight (crests, dips, switchbacks)
- Providing a consistent “follow me” reference point at night without blasting bright white reverse/work lights

Visibility through dust is significantly improved with amber lights.
Why they’re amber
Amber is widely used for “attention/marker” lighting because it:
- Cuts through dust and fog better than white (less glare and backscatter in many conditions)
- Is less fatiguing for the driver behind you than bright white light
- Is commonly associated with caution and visibility, not “work light” or “reverse light”
- Often aligns better with trail etiquette—visible without being blinding
(Note: performance depends on beam pattern and intensity as much as color, but amber is the usual best practice.)
Where to install (high and visible)
Mounting location matters as much as the light itself.
Best practices:
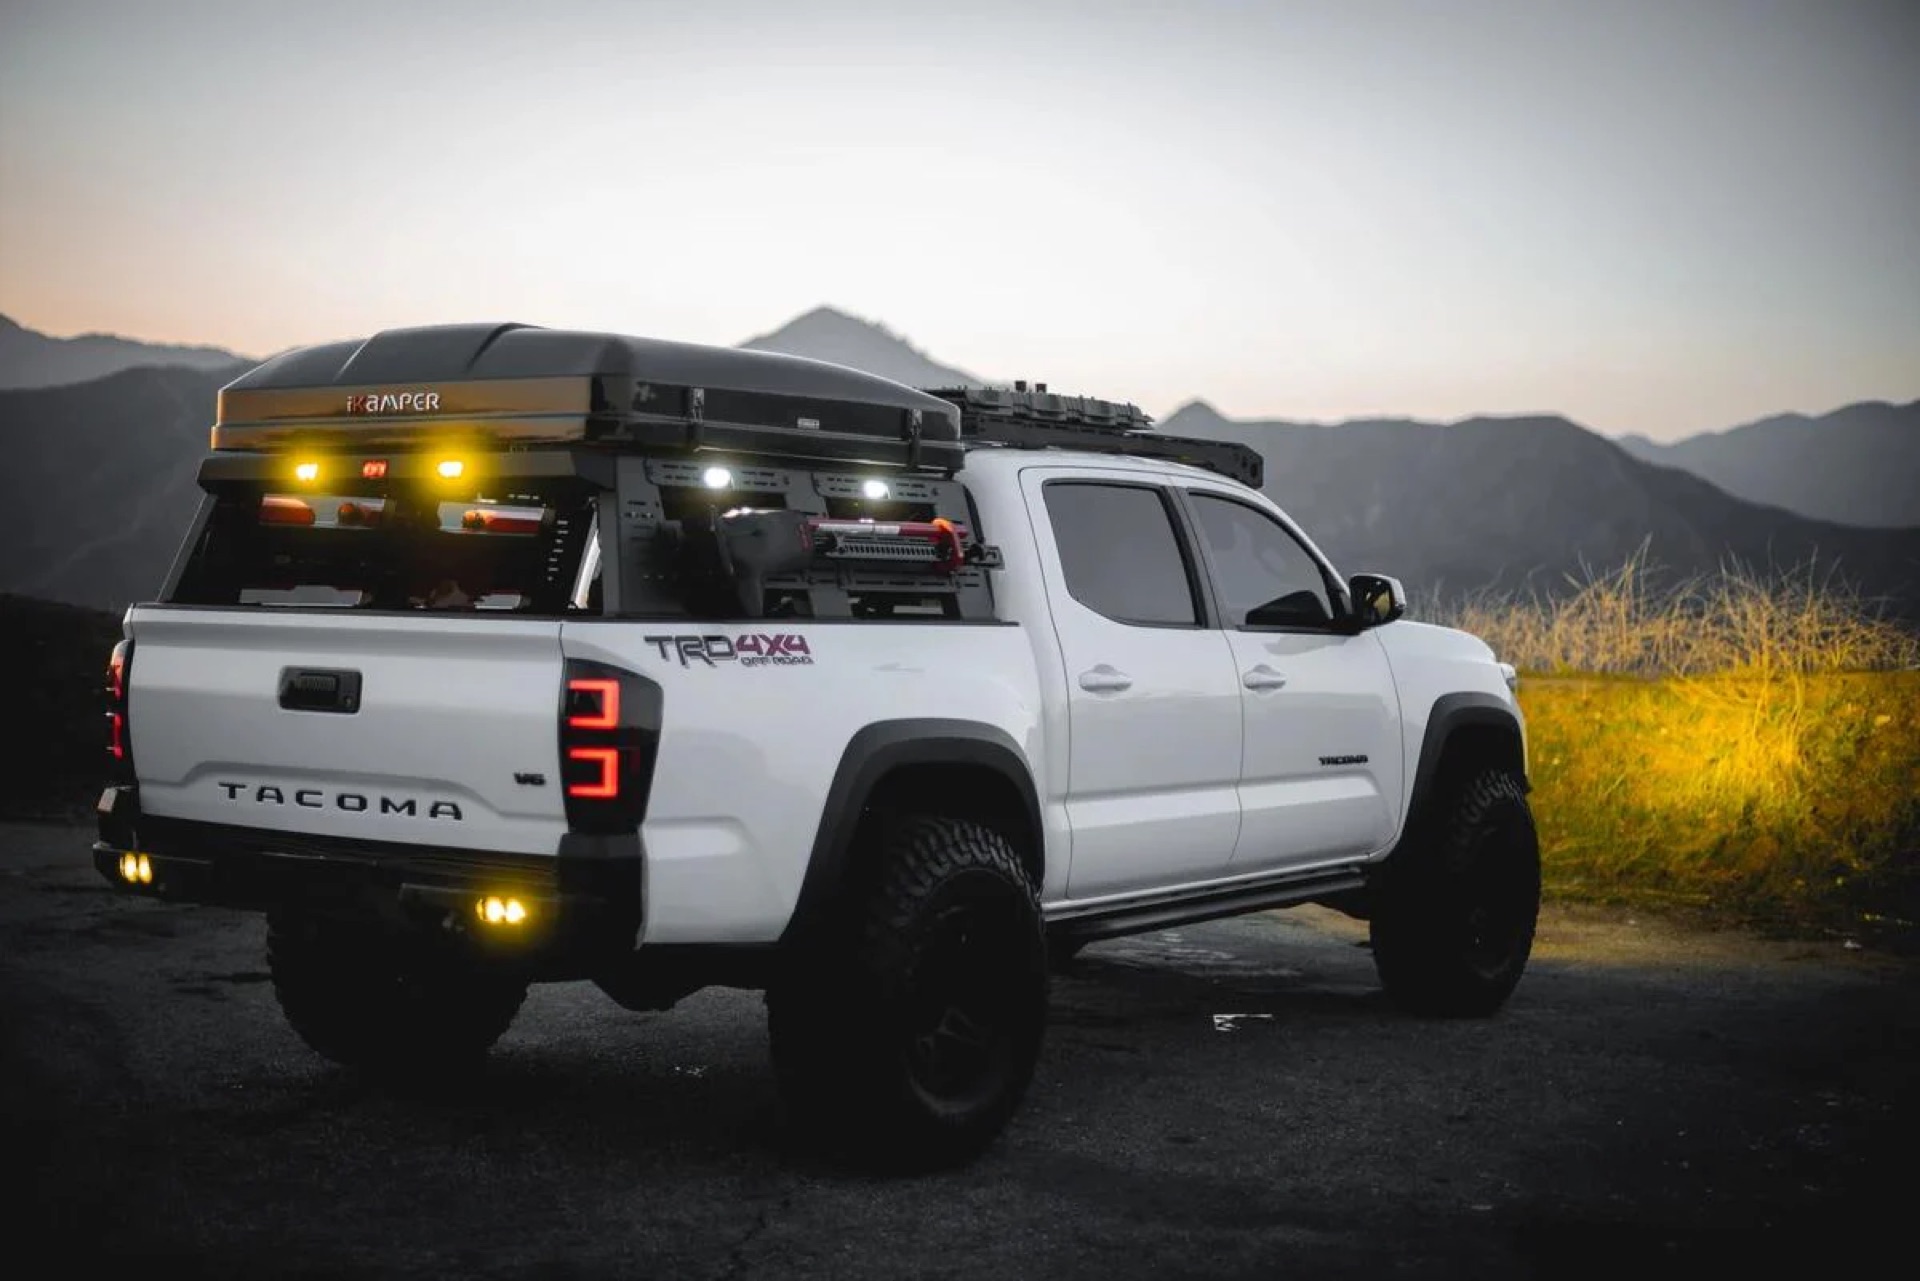
- High and centered: top of rear window, roof rack rear crossbar, or high on a rear rack
- Unobstructed line-of-sight: avoid mounting where a spare tire, jerry cans, or cargo blocks it
- Angled slightly rearward: not down into dust, not up into mirrors behind you
- Separate switch (or a multi-mode controller): so you can run it only when needed
Common mounting points:
- Rear roof rack / crossbar
- Rear ladder (if it places the light high enough)
- Upper rear bumper swing-out (only if it’s still clearly visible)
What are others using?
Common setups in the overland community include:
- Single high-mounted amber pod on a roof rack as a dedicated chase light
- Dual amber pods spaced left/right for wider visibility
- Amber rear-facing bar on a rack when traveling frequently in dust
- Multi-mode (solid + strobe) setups—solid for normal convoy, strobe only when stopped/disabled (and only if legal/appropriate)
Amazon suggestions
Entry level (budget-friendly, good starter options):
- Nilight 2–3" amber LED pods (look for “amber pod light”):
Nilight 2-3" Amber Pods - Auxbeam amber LED pods / cubes:
Search Auxbeam Amber Pods - Generic “amber strobe beacon” style pods:
Search Amber Strobe Pods
High-end (higher output, better optics, better sealing/quality):
- Baja Designs S2 / Squadron (amber lens options depending on model):
Search Baja Designs S2 | Search Squadron Amber - RIGID Industries (amber options vary by series):
Search Rigid Industries Amber
(Note: Amazon listings change often—use search terms to find current options. Links are examples, not endorsements.)
Important Considerations
- Legal/etiquette: Flashing amber can be regulated in some areas. If you run strobe modes, reserve them for emergencies or when stopped on a roadside/trail hazard.
- Brightness control: Too bright can be annoying or dangerous for the driver behind you. If possible, choose a light with multiple intensity modes or wire it to a dimmer/controller.
- Wiring: Use a fused circuit, weatherproof connections, and a proper relay/switch. Many people tie it into an auxiliary switch panel.
Get started (simple option)
Quick start: A basic 12V rooftop “cigar lighter” light is an easy way to begin—plug it into your vehicle’s 12V accessory socket, mount it securely on the roof (magnet/suction), and you’re ready to test patterns and positioning without hardwiring.
Tip: Route the cable so it won’t pinch in doors/windows.